How Do You Remove and Replace Old Home Insulation Safely?

If you have ever peeked into an attic or wall cavity and found lumpy, dusty fluff staring back at you, you are not alone. Old insulation can be messy, inefficient, and sometimes a little spooky, but upgrading it is one of the smartest investments you can make in your home's comfort and energy performance. This insulation removal and replacement guide walks you through how to safely handle the process and choose the best materials for your climate and project needs.
A Step-by-Step Insulation Removal and Replacement Guide
When It’s Time to Replace Your Insulation
Your insulation might be older than your favorite retro band, but age alone does not always require replacement. Here are the unmistakable signs that it is time for an upgrade. You notice rooms that are consistently too hot or too cold. Your energy bills spike without explanation. The insulation appears damp, moldy, compressed, or rodent-damaged. There is visible dust or debris falling from attic rafters or crawl spaces. You smell musty odors that point toward moisture problems. If any of these ring true, removing the old material and starting fresh can noticeably improve your home’s performance.
Tools and Equipment You’ll Need
Before you roll up your sleeves and channel your inner home-improvement hero, gather the right tools. A HEPA-rated shop vacuum ensures safe cleanup. Heavy-duty contractor bags handle insulation waste. Pry bars, utility knives, staple pullers, and scrapers help remove old materials. Protective gear is essential and includes gloves, eye protection, long sleeves, and a respirator mask. Good lighting and a stable work platform or knee boards will also make the job smoother.
Hiring a Professional vs DIY Replacement
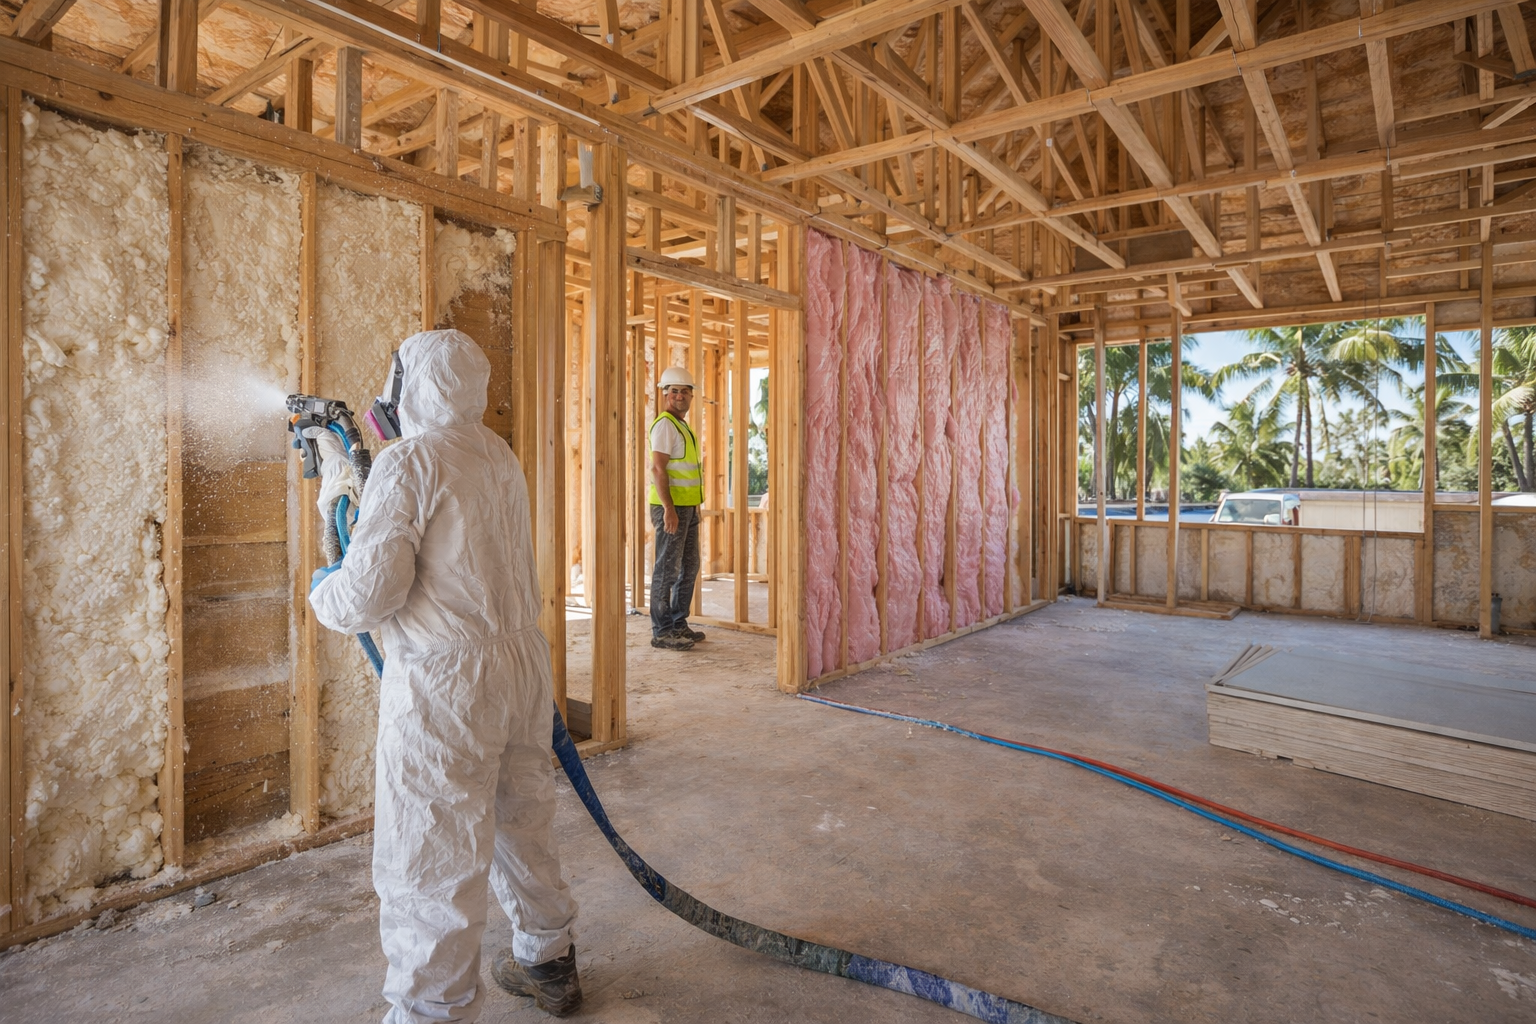
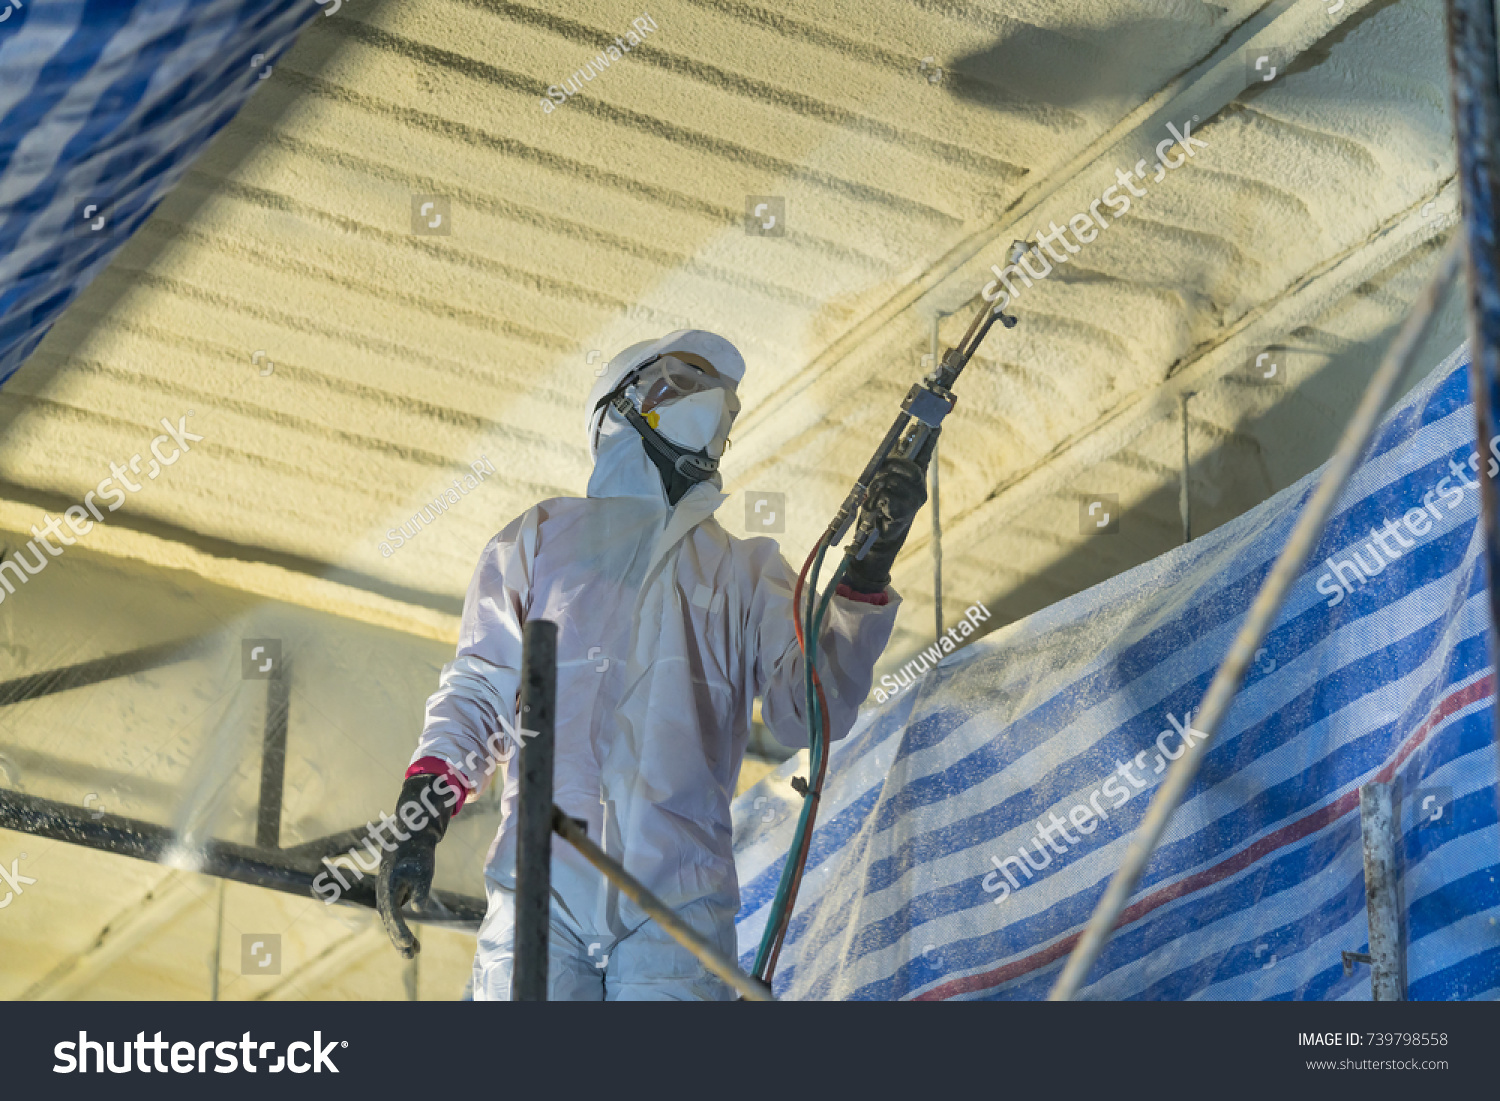
DIY is totally doable for some homeowners, especially when dealing with accessible areas like attics. However, professionals are typically better equipped for handling hazardous materials, tight spaces, and specialized insulation types. Hire a pro if your insulation shows signs of asbestos, if the attic or crawl space is cramped or unsafe, if there are electrical or structural hazards, or if you want spray foam insulation installed. Spray foam requires professional training and equipment. The DIY route works well for batt insulation, roll insulation, or blown-in removal using rented machinery. If you are unsure which option is safer, consult a specialist before starting.
Safety Tips for Handling Old Insulation
Safety comes first, especially when dealing with aging insulation that may contain irritants, moisture damage, or contaminants. Wear protective clothing that covers skin to avoid itchiness from fiberglass. Use a proper respirator that is rated for fine particles and potential mold spores. Place drop cloths around the work area to prevent debris from spreading. Shut off power to the area if electrical wires are exposed. Avoid disturbing insulation too aggressively, which can release excess dust. Always double-bag waste materials before removal. Ensure proper ventilation, whether you are working in an attic, crawl space, or wall cavity. Taking these precautions protects you, preserves the air quality in your home, and ensures a cleaner, more controlled project.
Choosing the Right Replacement Material
Once the old insulation is out, it is time to decide what goes in. The right choice depends on your budget, climate, project scope, and performance goals. Here are the top options to consider.
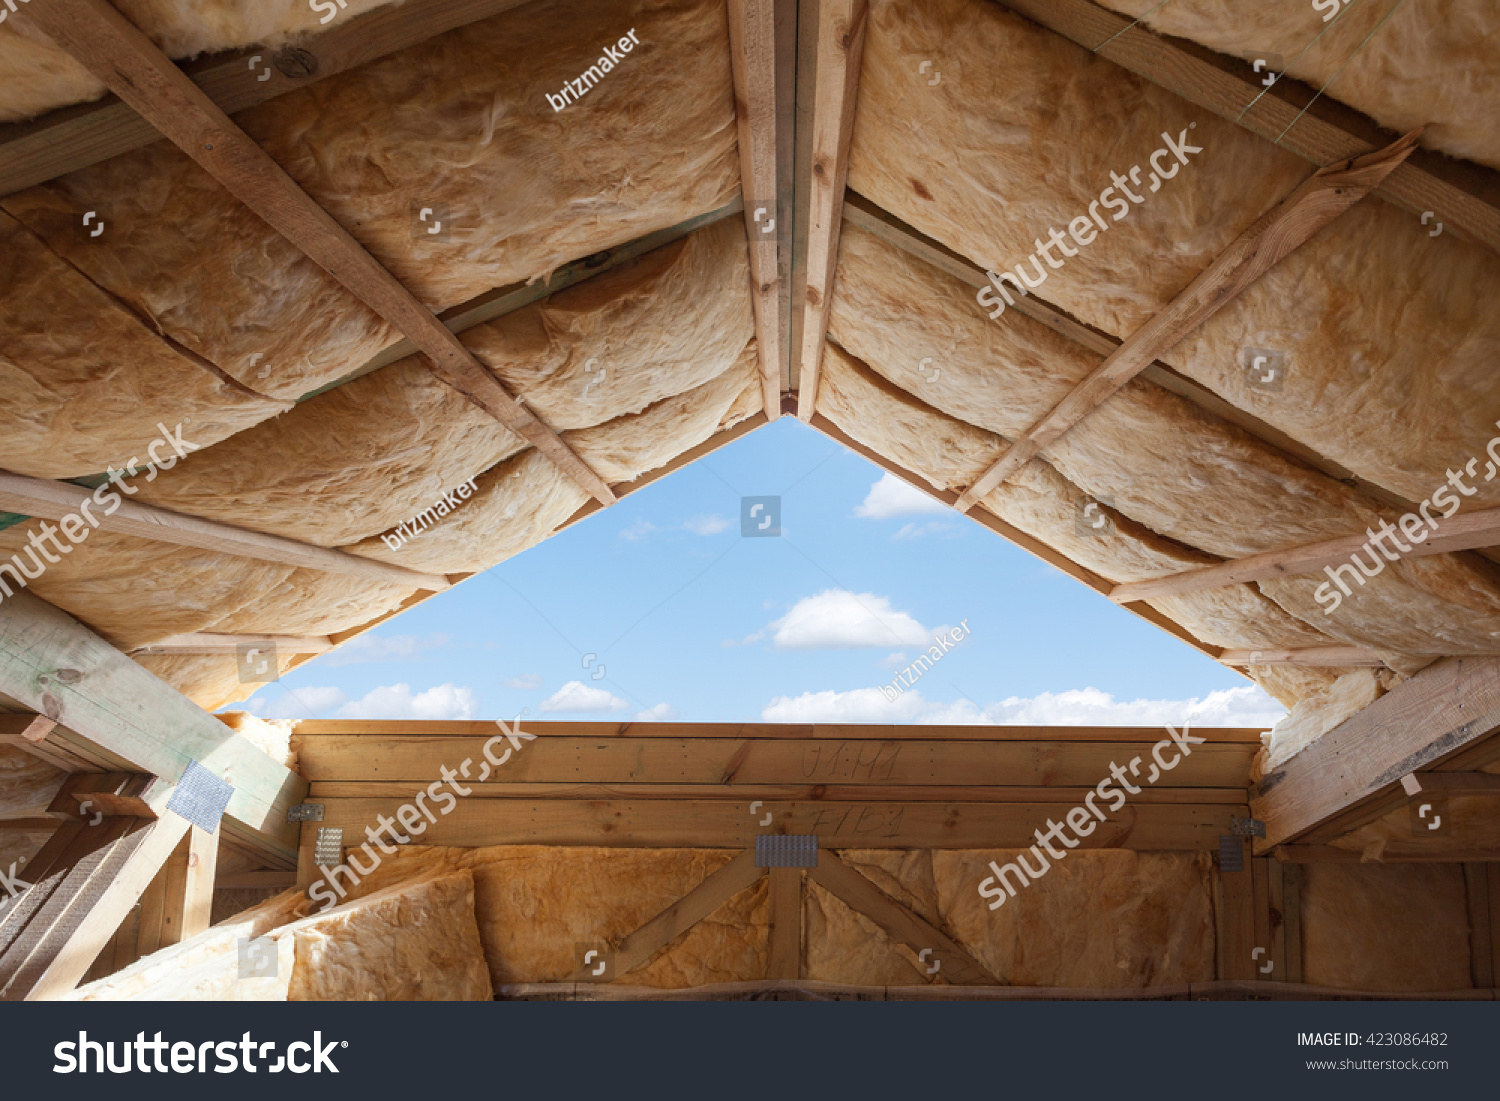
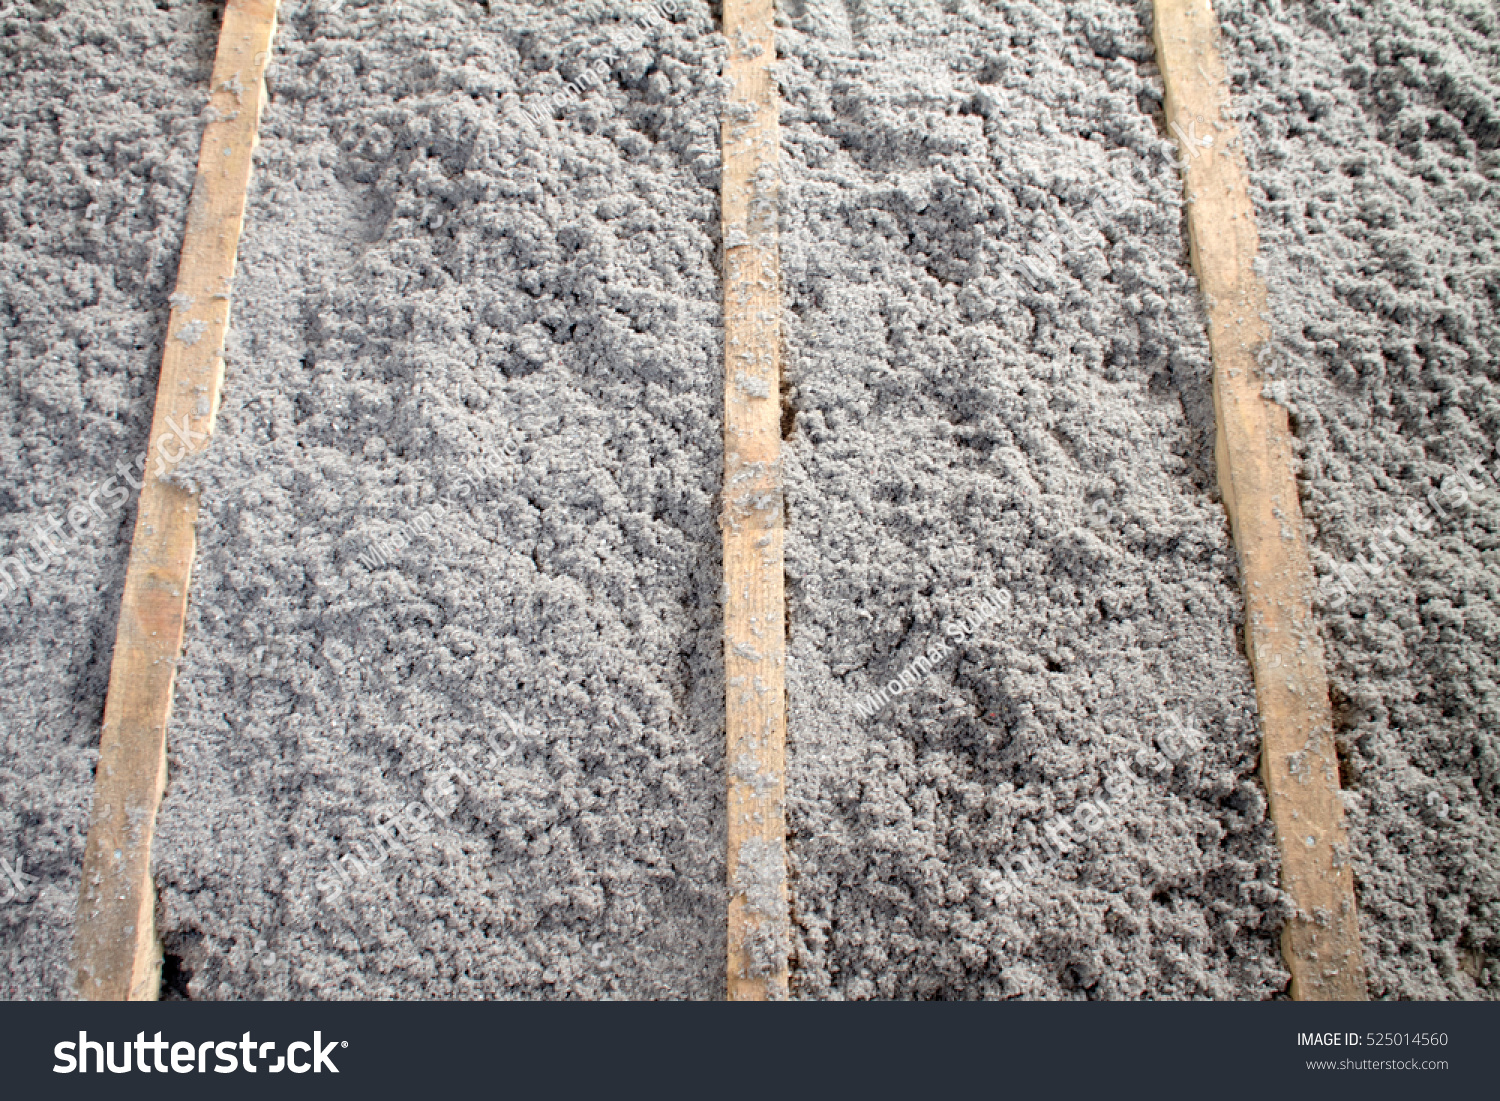
Fiberglass batts are affordable and easy to install. They work well for DIYers and standard framing but require precise installation to avoid gaps. Blown-in cellulose is eco-friendly and great for filling irregular spaces. It offers good soundproofing and energy performance. Blown-in fiberglass provides similar benefits but with a lighter material that resists moisture. Open-cell spray foam expands to fill cavities and offers high air sealing performance, though it is not moisture-resistant. Closed-cell spray foam has the highest R-value per inch, adds structural strength, and resists moisture. This option usually requires professional installation. Rigid board insulation is durable, moisture-resistant, and ideal for basements and exterior walls. Fi-foil and reflective insulation work well in hot climates by reducing radiant heat transfer. In South Florida, especially, reflective and spray foam solutions can significantly boost efficiency.
A Closer Look at the Materials
When choosing insulation, consider these factors. R-value determines how well insulation resists heat flow. Higher R-values mean better performance. In warm, humid climates, materials with moisture resistance or air sealing benefits provide long-term durability. Some materials are easier for DIY installation, like batts and blown-in insulation. Others, like spray foam, require expert handling. Cost varies widely based on insulation type and installation complexity. Keep a balance of upfront investment and long-term savings. Noise reduction is also a bonus if you want a quieter home.
Step-by-Step: How to Remove Old Insulation
Removing insulation safely involves preparation and methodical execution. Start by assessing the area for structural hazards, water damage, electrical concerns, or pests. Lay down plywood or sturdy boards to distribute weight if working in an attic. Put on safety gear before touching anything. Fiberglass batt removal is simple; roll it up gently and place it in contractor bags. Blown-in insulation requires a HEPA vacuum removal system. You can rent one, though they can be large and require two people to operate efficiently. Remove contaminated insulation separately if pests or moisture are involved. Clean the cavity thoroughly once the insulation is out. Vacuum dusty surfaces, remove old fasteners, and inspect for any repairs needed before proceeding.
Step-by-Step: How to Install New Insulation
Once your space is clean and prepped, installation begins. For batt insulation, measure each cavity and cut pieces to fit snugly without compression. Fill all edges and avoid leaving gaps. For blown-in insulation, use the blowing machine to achieve the recommended depth for your target R-value. Keep the material level and consistent. Spray foam requires a licensed installer who will prep the surface, mix, and apply the foam properly. After installation, seal air leaks around fixtures, vents, and penetrations. Good air sealing boosts your insulation’s performance dramatically. Finally, ensure proper ventilation. Attics especially need balanced airflow to prevent moisture buildup and prolong insulation life.
Extra Tips for Energy Efficiency
Enhancing insulation is great, but pairing it with air sealing, duct repairs, and moisture control will improve results even more. Seal gaps around wiring, plumbing penetrations, and attic hatches. Upgrade weatherstripping on doors and windows. Inspect HVAC ductwork for leaks. Add attic ventilation baffles if needed to maintain airflow. These small steps can boost efficiency and comfort significantly.
Contact Atlas Insulation Today
Updating insulation is one of the biggest upgrades you can make to your home. It boosts comfort, reduces energy bills, improves indoor air quality, and can even extend the lifespan of your HVAC system. Whether you decide to DIY the process or bring in the pros, always prioritize safety, preparation, and high-quality materials.
If you want expert help choosing or installing the right insulation for your home or business, contact Atlas Insulation, South Florida's 5-star company for all your insulation needs. With blown-in, open-cell, closed-cell spray foam, Icynene, fi-foil, rigid board, and batt insulation, we have the perfect solution for every project, residential or commercial. Schedule a free estimate today.


